For the complete documentation index, see llms.txt
For the complete documentation index, see llms.txt
How to Complete HMRC Instant Employment Verification
1. Navigate to your Zinc submission page and click **Complete now** inside of **References**.

2. Inside of Employment Verification, you will be asked if you have a Government Gateway ID.
- If you have one, click **Yes**.
- If you don't have one yet, click **No** and you will be prompted to create a Government Gateway ID if you can.
- Follow our steps [here](https://help.zincwork.com/hc/hm54ky7yrc/article/2fe60a72-creating-a-government-gateway-id-for-hmrc-instant-employment-verification) if you need more help on this process.
- **If you cannot make one**, you will be prompted to either add HR references manually **or** if set up by your new employer, move onto the next reference section if multiple reference types are requested.

3. Once you have clicked **Yes**, click **Next**.

4. You will then be taken to the consent page. Read through this page and click the agree tickbox once you are happy to proceed.

5. Click **Next - > submit Government Gateway ID**.

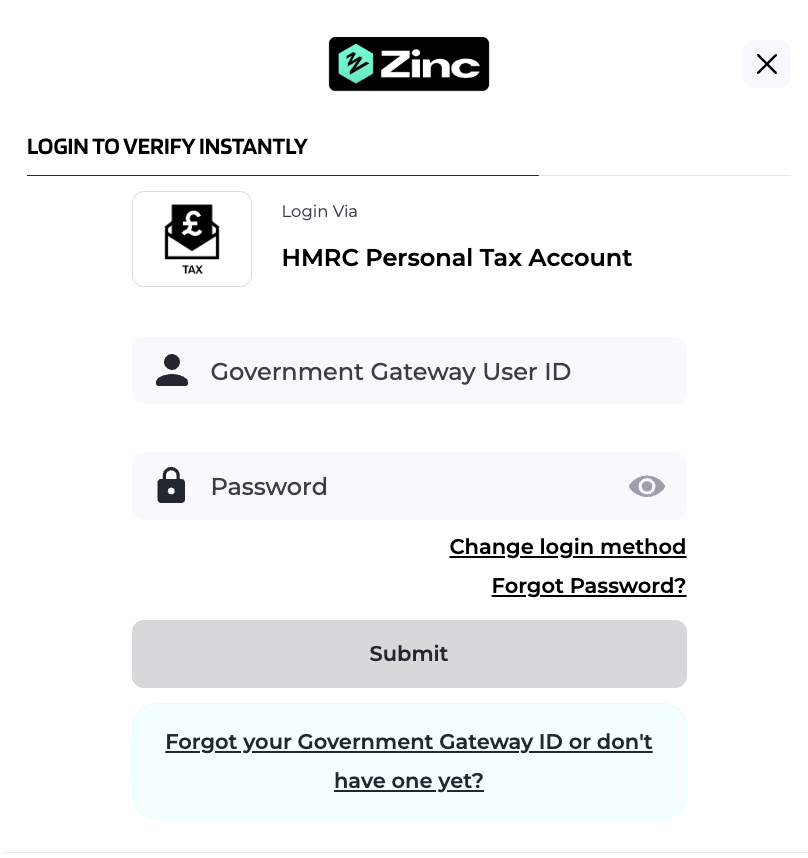
6. Next, you will be on the Sign In page. Provide your Government Gateway user ID or GOV.UK One Login email and password where indicated. Then, click **Submit**.
**Worried about sharing your details?** Read more on on this process [**here**](https://help.zincwork.com/hc/hm54ky7yrc/article/91a0d6a3-does-zinc-have-access-to-my-tax-authority-login).
7. Just before your data is processed, you will be asked to consent to sharing your data. Please read through what will be accessed and click **Allow & Continue**.

8. Now your data will be processed and verified. Stay on this page until the process is complete, which should only take a few seconds.

9. Once your data has been processed, you will see what has been verified, which will be the **employer name and the dates you worked** for each verified Employment Verification reference.
Click the **Job Title** field to add in your job title for each company.

After adding all your job titles, click **Submit** at the bottom of the page.

## That’s it
You should now see your verified references in an ordered timeline and your HMRC verified references below this.


If you need to add more references, click **Add another** at the bottom of the page to input HR references to be contacted, or if you have no more references to add, click **Finish** to go back to the overall dashboard.

## Why wasn’t I asked for my referee’s email address?
If you weren’t asked for a specific email address for your referees (and you don’t see an email field), that’s normal when you’re completing **Instant Employment Verification**. This verification is completed through the government login flow, rather than by contacting your referees.
If you’d still like to add HR references to be contacted, you can do this after completing Instant Employment Verification by clicking **Add another** (this may appear as **Add more**).